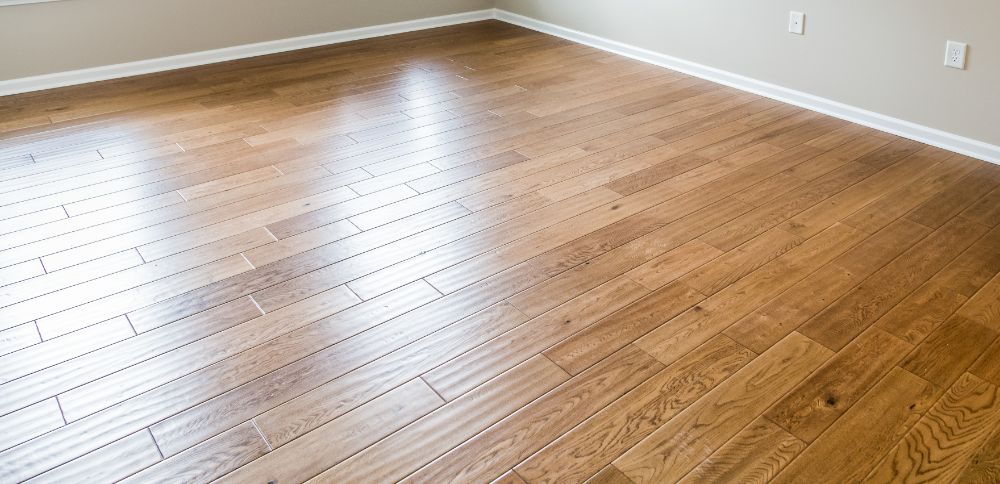
If you have hardwood floors in your home, you are probably already aware that it is becoming an increasingly popular choice as it is durable and comes in various styles. This kind of flooring lends itself well to Scandinavian-inspired homes by making the room look well-lit and spacious. However, you may find that the daily wear and tear, spillage and accumulating dirt make your floors look dull and grimy. Installing brand-new flooring might seem like the only option but refinishing your floor is definitely less troublesome and more wallet-friendly.
Refinishing entails sanding down the topmost layer of the wooden floor. This removes stains, scratches, and other defects. The new surface underneath can then be layered with fresh coats of lacquer, paint, or any other treatment.
When should you Refinish Hardwood Floors?
Firstly, you need to consider the type of hardwood floor you have, which can impact your decision to refinish. There are primarily two varieties of hardwood:
- Solid hardwood: This option has the same wood throughout.
- Engineered hardwood: This option consists of a thin layer of hardwood attached to a layer of cheaper sheet material.
Solid hardwood can be refinished up to 8 times over its lifespan. Engineered hardwood, on the other hand, can usually only be sanded down once or twice. Moreover, care needs to be taken not to sand off the surface layer and expose the inner layers.
Secondly, there is a simple test you can do to determine whether you ought to refinish. Pour a tablespoon of water on the floor and observe what happens. If the water droplets rest on top of the wood, the flooring is in good condition. If the water slowly seeps into the wood, you should consider refinishing. However, if the water permeates the wood quickly and leaves a dark blotch, it would be advisable to refinish immediately. Refinishing is certainly a tempting option, but you should consider replacing your floors if more than 30% of the boards have incurred damage.
How should you Refinish Hardwood Flooring?
You may choose to hire a professional to get the job done, but if you relish the prospect of a DIY project, have a spare weekend, and enjoy working up a sweat, here are the steps!
- Preparing: This involves cleaning your floors to remove dust, debris and maybe even stains. Cracks will need to be filled and protruding nail heads removed.
- Sanding: In this step, the aim is to grind your flooring down to where blemishes may have permeated. The tools you will need are a drum sander for covering a large surface area and an edger for sanding corners and hard-to-reach spots. Sanding usually takes several passes, and in the end, your floors will resemble untreated wood.
- Staining: This is an optional step wherein you can color the wood to jazz things up for an upcoming home staging. Wood stains can be easily applied using cloths.
- Top-coating: The final step involves applying a layer of polyurethane with a brush and roller.
With this handy guide, you are sure to transform your physical space. If you need more such tips to spruce up your home, be sure to check back here regularly or ask your realtor for any further suggestions.


